The Investor’s Repair Cost Checklist for Smarter Deals
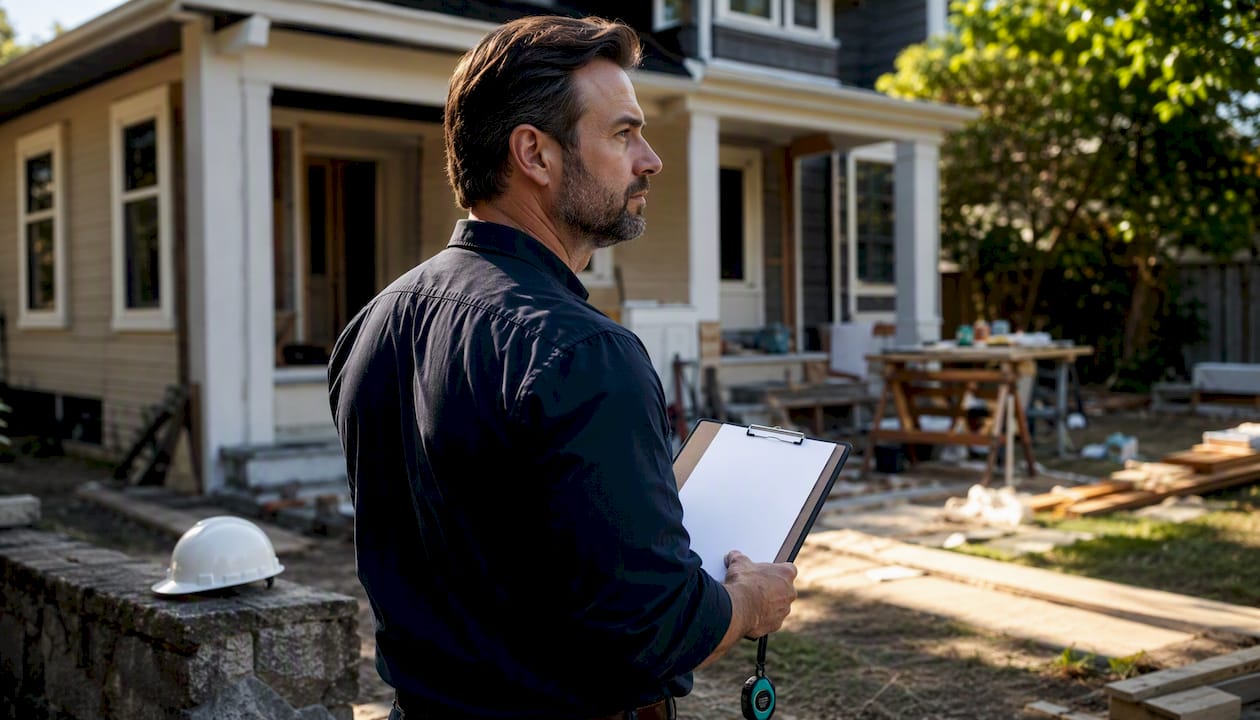
A complete repair cost checklist gives you a one-page, lender-ready rehab budget you can walk into a contractor meeting or underwriting conversation with confidence. Use it to scope every line item, validate your ARV, and calculate your Maximum Allowable Offer (MAO) before you commit capital.
Here is what the checklist delivers:
- A deal-ready scope of work grouped by trade and room, formatted to match how subcontractors actually bid
- Category totals across hard costs, soft costs, and carrying costs so nothing falls through the cracks
- A contingency line scaled to scope tier (cosmetic, standard, or major gut)
- ARV and MAO inputs ready to feed into the 70% rule calculation
Start with a square-foot sanity check to screen the deal in under five minutes. Then build a line-item scope for the two largest cost categories before you make an offer. Run both through the Rehab Cost Calculator to generate a lender-ready output.
Pro Tip: On your first walk-through, note the two highest-ticket items (usually roof or HVAC) and get at least one contractor’s verbal range before you leave the driveway. That single step prevents the most common offer-price mistakes.
Key Takeaways
A line-item rehab budget, verified with contractor bids on the two largest cost categories, is the only format that supports accurate ARV and MAO math and satisfies lender underwriting requirements.
| Point | Details |
|---|---|
| Screen with square footage first | Use a range between about fifteen and one hundred twenty-five dollars per square foot benchmarks by scope tier to decide if a deal is worth pursuing. |
| Build a line-item scope | Group work trade-by-trade so every contractor bids the same scope. |
| Verify the two biggest lines | Get at least one written contractor bid on your two largest cost categories before closing. |
| Scale contingency to scope | Use 10% for cosmetic, 15% for standard, and 20–25% for major or gut rehabs. |
| Real Estate Investor Toolkit | The Rehab Cost Calculator converts your checklist into a lender-ready report with ARV and MAO outputs. |
Table of Contents
- What goes on the repair cost checklist?
- Which estimating method should you use?
- How to build a contractor-ready line-item scope
- What are the “Big Six” deal-killers to inspect?
- How do hard costs, soft costs, and contingency work together?
- How do you validate the rehab budget before closing?
- How does the rehab budget feed into ARV and MAO?
- How to maintain a rehab-cost database
- How were these benchmarks and recommendations chosen?
- What does a typical repair project timeline look like?
- What causes unexpected repair costs and change orders?
- What insurance do you need during a rehab?
- How do you prioritize repairs when the budget is tight?
- What most investors get wrong about rehab estimates
- Run your checklist through the deal calculators
- Sources
What goes on the repair cost checklist?
A printable rehab checklist has a header row (property address, scope tier, date) and four cost buckets. Below that, line items run room-by-room and trade-by-trade.
| Category | Core Line Items | Priority Flag |
|---|---|---|
| Exterior & Shell | Roof, siding, windows, foundation, gutters | Red if structural |
| Major Systems | HVAC, electrical panel, plumbing supply/drain | Red if code-deficient |
| Kitchen & Baths | Cabinets, countertops, fixtures, tile | Yellow/Green |
| Interior Finishes | Flooring, drywall, paint, trim, doors | Green |
| Site Work | Grading, driveway, landscaping, fencing | Green |
| Soft Costs | Permits, dumpsters, temp power, insurance | Yellow |
Mark items red when they require a specialist inspection before you can price them. Yellow means you have a rough range but need a bid. Green means you can use a unit-cost benchmark with confidence.
- Flag any item you cannot price within ±20% as red and escalate to a licensed inspector or structural engineer before closing.
- Capture contractor hours and square footage in two dedicated fields at the top of the checklist so you can run a quick per-square-foot sanity check against your line-item total.
Pro Tip: Add a “scope creep” column next to each line item. When a contractor finds additional work during demo, you log it there — keeping the original budget intact and the change order visible.
Which estimating method should you use?
Professionals use three methods and move through them in sequence as a deal matures.
- Lump-sum screen. Classify the property as light, medium, or heavy rehab in under two minutes. Light = cosmetic only, no systems work. Medium = one or two systems plus cosmetic. Heavy = full gut or structural issues. Use this to decide whether to keep underwriting.
- Square-foot benchmarks. Apply a per-square-foot range to get a fast ballpark. Per-square-foot ranges vary by market, but national starting points are useful for screening.
- Line-item budget. Build a contractor-style scope before final underwriting. This is the only method lenders accept and the only one that produces apples-to-apples contractor bids.
| Scope Tier | Typical Range (per sq ft) | When to Use |
|---|---|---|
| Cosmetic | a range starting from fifteen dollars to around thirty dollars | Paint, flooring, fixtures only |
| Standard | a range starting around thirty dollars to about sixty dollars | Kitchens, baths, one system |
| Major / Gut | a range starting near sixty dollars up to more than one hundred twenty-five dollars | Full systems, structural, additions |
Local labor and material rates can shift these ranges by 20–40%, so treat them as a first-pass screen only. Move to a line-item budget before you finalize any offer.
- Move from square-foot to line-item once you have confirmed the scope tier and identified the two largest cost categories.
- Verify those two categories with at least one real contractor bid before closing.
How to build a contractor-ready line-item scope
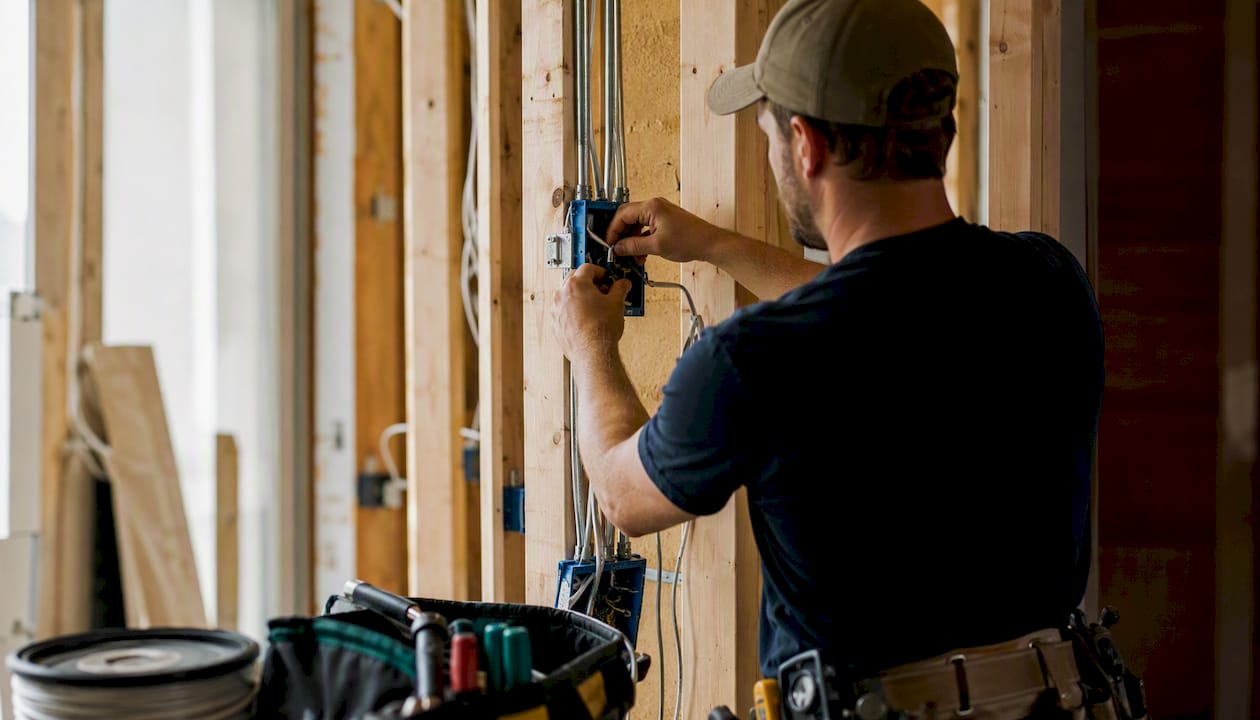
The line-item scope is the backbone of your rehab budget. Each row matches the way a subcontractor will bid the work, which means you get comparable numbers across multiple quotes.
| Column | What to Capture |
|---|---|
| Category | Trade group (e.g., Electrical) |
| Room / Area | Kitchen, Master Bath, Whole House |
| Line Item | Panel upgrade, demo, cabinet install |
| Unit | Each, LF, SF, LS |
| Quantity | Measured or estimated count |
| Unit Cost (Labor) | Per-unit labor rate |
| Unit Cost (Material) | Per-unit material cost |
| Permit / Fee | Line-item permit cost |
| Contingency % | 10–20% per line |
| Total | Auto-calculated |
Group work the way subcontractors bid: exterior and structure, major systems, kitchen, bathrooms, interior finishes, and specialty items. A sample set of rows might include demo (whole house, lump sum), cabinet install (kitchen, per linear foot), countertop (kitchen, per square foot), wiring rough-in (whole house, per circuit), panel upgrade (100A to 200A, each), and HVAC swap (whole house, each).
Pro Tip: *Measure room dimensions on-site and calculate square footage yourself before you share the scope with contractors.
What are the “Big Six” deal-killers to inspect?
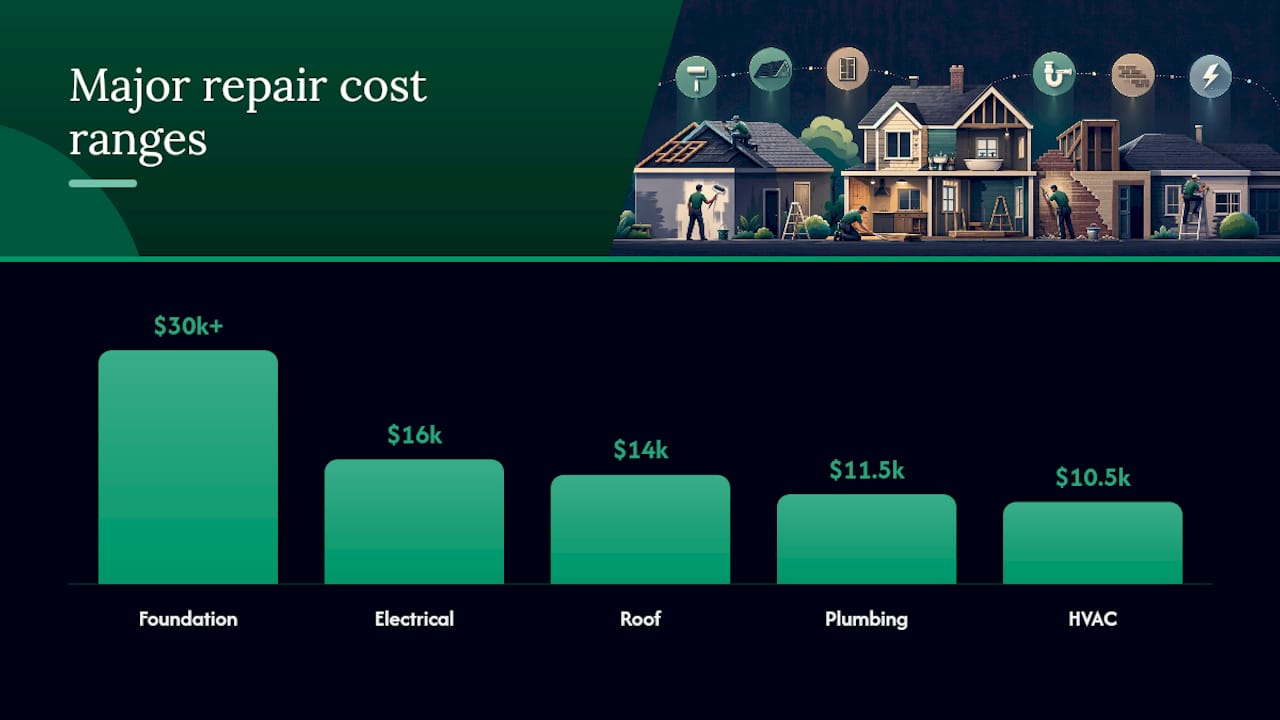
These six systems account for the majority of budget blowouts on fix-and-flip projects. Each one can swing your rehab number by tens of thousands of dollars.
- Foundation: Stair-stepping cracks in brick, doors that won’t close, sloping floors. Minor crack repair runs a few thousand dollars; full underpinning or pier work can exceed $30,000.
- Roof: Sagging ridgeline, missing shingles, daylight in the attic. A full replacement on an average home runs several thousand dollars, roughly between eight and twenty thousand dollars depending on pitch and material.
- HVAC: Systems older than 15 years, mismatched equipment, no ductwork. Full replacement typically runs several thousand dollars, roughly between six and fifteen thousand dollars per unit.
- Electrical: Panels rated below 100A, knob-and-tube wiring, double-tapped breakers. A full rewire plus panel upgrade can reach a range from about twelve thousand to twenty thousand dollars.
- Plumbing: Galvanized supply lines, cast-iron drain with root intrusion, no cleanout. Full replumb runs approximately eight to fifteen thousand dollars on a single-story home.
- Windows / Shell: Rotted frames, failed seals, missing flashing. Window replacement at scale adds up fast — budget several hundred dollars, approximately four hundred to eight hundred dollars per window installed.
Escalate before you close: call a structural engineer for any foundation concern, an HVAC specialist for systems over 15 years old, and schedule a sewer scope on any home built before 1980.
| System | Red Flag | Escalation Step |
|---|---|---|
| Foundation | Stair-step cracks, floor slope | Structural engineer |
| Roof | Sagging ridge, wet decking | Roofing contractor inspection |
| HVAC | Age 15+, mismatched units | HVAC specialist |
| Electrical | Sub-100A panel, K&T wiring | Licensed electrician |
| Plumbing | Galvanized, no cleanout | Plumber + sewer scope |
| Windows | Rotted frames, failed seals | General contractor |
How do hard costs, soft costs, and contingency work together?
Every rehab budget has four expense buckets. Missing any one of them produces a number that will not survive lender scrutiny.
| Bucket | What It Includes |
|---|---|
| Hard Construction | Labor and materials for all visible work |
| Hidden / Structural | Remediation found after demo (mold, rot, code issues) |
| Soft Costs | Permits, dumpsters, temp power, builder’s-risk insurance |
| Carrying / Transaction | Interest, property taxes, utilities during rehab |
Permits, dumpsters, and soft costs are the most commonly missed items and can add thousands to a budget that looked tight on paper. Add explicit line items for each — do not lump them into a general contingency.
Contingency should scale with scope, not sit as one flat percentage:
- Cosmetic rehab: 10% contingency
- Standard rehab (one or two systems): 15% contingency
- Major gut or structural work: 20–25% contingency
Lenders evaluating a rehab loan look at Loan-to-Cost (LTC) ratios and want to see that your line items are detailed enough to verify. A vague “miscellaneous” line does not satisfy underwriting. Explicit holding cost estimates belong in the budget too — they affect your MAO directly.
How do you validate the rehab budget before closing?
A five-step workflow turns a draft checklist into a defensible number: run comps, inspect the property, write the scope, get three contractor bids, and add contingency. The validation step is where most investors skip ahead and pay for it later.
- Request bids on the same written scope so you are comparing labor and materials on identical work.
- Get written bids on the two largest line items before closing — this single step reduces the most common estimate failures.
- Watch for excluded items and assumed allowances in contractor bids; a low number that excludes permits or haul-away is not a low number.
- Wide bid variance (more than 30% between the lowest and highest quote) usually signals a scope interpretation problem, not a pricing difference — clarify before you accept any bid.
Red flags that warrant renegotiation or a walk: missing permits on prior work, systems that cannot be insured in their current state, and any contractor who refuses to provide a written scope.
How does the rehab budget feed into ARV and MAO?
The MAO formula is: MAO = (ARV × 0.70) − Rehab − Holding Costs − Closing Costs.
- Pull comps and estimate ARV using the ARV Calculator.
- Apply your square-foot benchmark to screen the deal: if the math does not work at the rough number, stop.
- Build the line-item budget and replace the rough number with your verified total.
- Run sensitivity: add 10% to rehab and holding costs and recalculate MAO. Add 20% and recalculate again.
Worked example: ARV = $250,000. Rehab (line-item) = $45,000. Holding = $6,000. Closing = $4,000. MAO = ($250,000 × 0.70) − $45,000 − $6,000 − $4,000 = $120,000.
If the seller’s ask is above $111,000, the deal has no margin for error. The ARV vs MAO relationship is where checklist accuracy pays off most directly.
How to maintain a rehab-cost database
Every completed project is a data point. Capture these fields after closing:
| Field | What to Record |
|---|---|
| Scope Tier | Cosmetic / Standard / Major |
| Geography | City, zip, submarket |
| Actual Unit Costs | Final labor and material per unit |
| Final Quantities | Measured vs estimated variance |
| Change Orders | Count, dollar amount, reason |
| Timeline Variance | Planned vs actual days |
| Contractor Performance | On-time, on-budget, quality rating |
Tag each project by scope tier and geography so your benchmarks stay relevant. After five or six projects, your personal unit-cost library will outperform any national benchmark for your specific market.
How were these benchmarks and recommendations chosen?
The ranges and workflows in this checklist draw from several practitioner sources:
- JetLending’s 2026 investor guide for per-square-foot benchmark ranges
- Flippers for soft-cost line items and permit guidance
- RealEstateSkills estimating guide for the five-step validation workflow
- REsimpli’s square-foot screening guidance for the role of benchmarks as a first-pass screen only
Local contractor quotes remain the final validation layer. National benchmarks tell you whether a deal is worth pursuing; local bids tell you whether it actually pencils.
What does a typical repair project timeline look like?
From the day you sign a purchase contract to the day you list the rehabbed property, most standard rehabs run 8–16 weeks. The breakdown generally looks like this:
- Week 1–2: Permits pulled, contractor mobilization, demo
- Week 2–5: Rough-in work (framing, HVAC, electrical, plumbing)
- Week 5–8: Inspections, drywall, insulation
- Week 8–12: Finishes (flooring, cabinets, paint, fixtures)
- Week 12–16: Punch list, final inspections, listing prep
Major gut rehabs or properties with structural issues routinely push past 16 weeks. Every additional week adds carrying costs — typically between fifty and one hundred fifty dollars per day in interest, taxes, and utilities depending on your loan terms and market. Build that daily burn rate into your MAO sensitivity check.
What causes unexpected repair costs and change orders?
Change orders are the single biggest source of budget overruns on rehab projects. They fall into three categories.
Hidden conditions are the most expensive: rot behind shower tile, mold inside walls, undersized electrical service discovered after demo. These are not contractor errors — they are unknowns that a contingency budget exists to absorb. A 15–20% contingency on a standard rehab is not padding; it is risk management.
Scope drift happens when a contractor expands work beyond the written scope without a signed change order. The fix is a tight written scope before work begins and a rule that no work outside the scope starts without written approval and a price.
Renovation cost overruns are well-documented even in controlled markets. Material price swings, subcontractor scheduling gaps, and permit delays each add days and dollars. Budget for at least one permit delay per project — a week’s delay on a $200,000 loan at 12% annualized costs roughly $460 in interest alone.
What insurance do you need during a rehab?
Standard homeowner’s insurance does not cover a vacant property under active renovation. You need builder’s-risk insurance (also called course-of-construction coverage) from the day you take title.
Builder’s-risk covers the structure and materials on-site against fire, theft, vandalism, and weather. A moderate figure such as fifty thousand dollars rehab might cost $500–$2,000 for a 90-day policy.
Require every contractor and subcontractor to carry general liability (minimum $1 million per occurrence) and workers’ compensation. Collect certificates of insurance before any work begins — a worker injured on your property without coverage becomes your liability. Add these insurance costs as explicit soft-cost line items in your checklist, not as part of contingency.
How do you prioritize repairs when the budget is tight?
Not every repair has equal impact on ARV or deal safety. Prioritize in this order:
- Safety and code compliance first. Electrical, structural, and plumbing deficiencies that fail inspection or create liability must be addressed regardless of cost. Skipping them is not a budget strategy — it is a liability.
- Systems that affect lender approval. Most rehab lenders require functional HVAC, a code-compliant electrical panel, and a watertight roof before they will fund or release draws.
- High-ROI cosmetic upgrades. Kitchen and bath updates consistently drive the largest ARV gains relative to cost. Renovation cost vs. cash offer analysis can help you decide which upgrades actually move the needle in your market.
- Curb appeal. First impressions affect days-on-market. Paint, landscaping, and a clean entry are low-cost, high-visibility items.
- Deferred maintenance. Items that do not affect safety, systems, or ARV can sometimes be left for the buyer — but only if disclosed and priced into the offer.
When the budget forces a choice, cut from category 5 before you cut from category 1.
What most investors get wrong about rehab estimates
The most common mistake is treating the square-foot benchmark as a final number. It is a screening tool. An investor who offers based on “$40 per square foot” without a line-item scope is pricing a deal on a guess, and that guess has no contingency, no soft costs, and no verification behind it.
The second mistake is skipping permits to save time and money. Unpermitted work creates title problems, kills financing, and can require demolition and redo at full cost. The permit fee is always cheaper than the alternative.
Third: investors routinely undercount holding costs. Those costs belong in the MAO formula, not as an afterthought.
The professional habit that separates repeatable investors from one-deal wonders is treating the rehab budget as a living document. Re-validate contractor quotes when material prices shift. Update your unit-cost database after every project. And always get a written bid on the two largest line items — not a verbal estimate, a written bid with a scope attached.
Run your checklist through the deal calculators
Your line-item checklist is only as useful as the math it feeds. Real Estate Investor Toolkit’s Rehab Cost Calculator converts your scope directly into a lender-ready report — line items, totals, contingency, and soft costs formatted for underwriting. From there, the ARV Calculator pulls comparable sales to validate your after-repair value, and the MAO and investment calculators run the 70% rule math automatically.
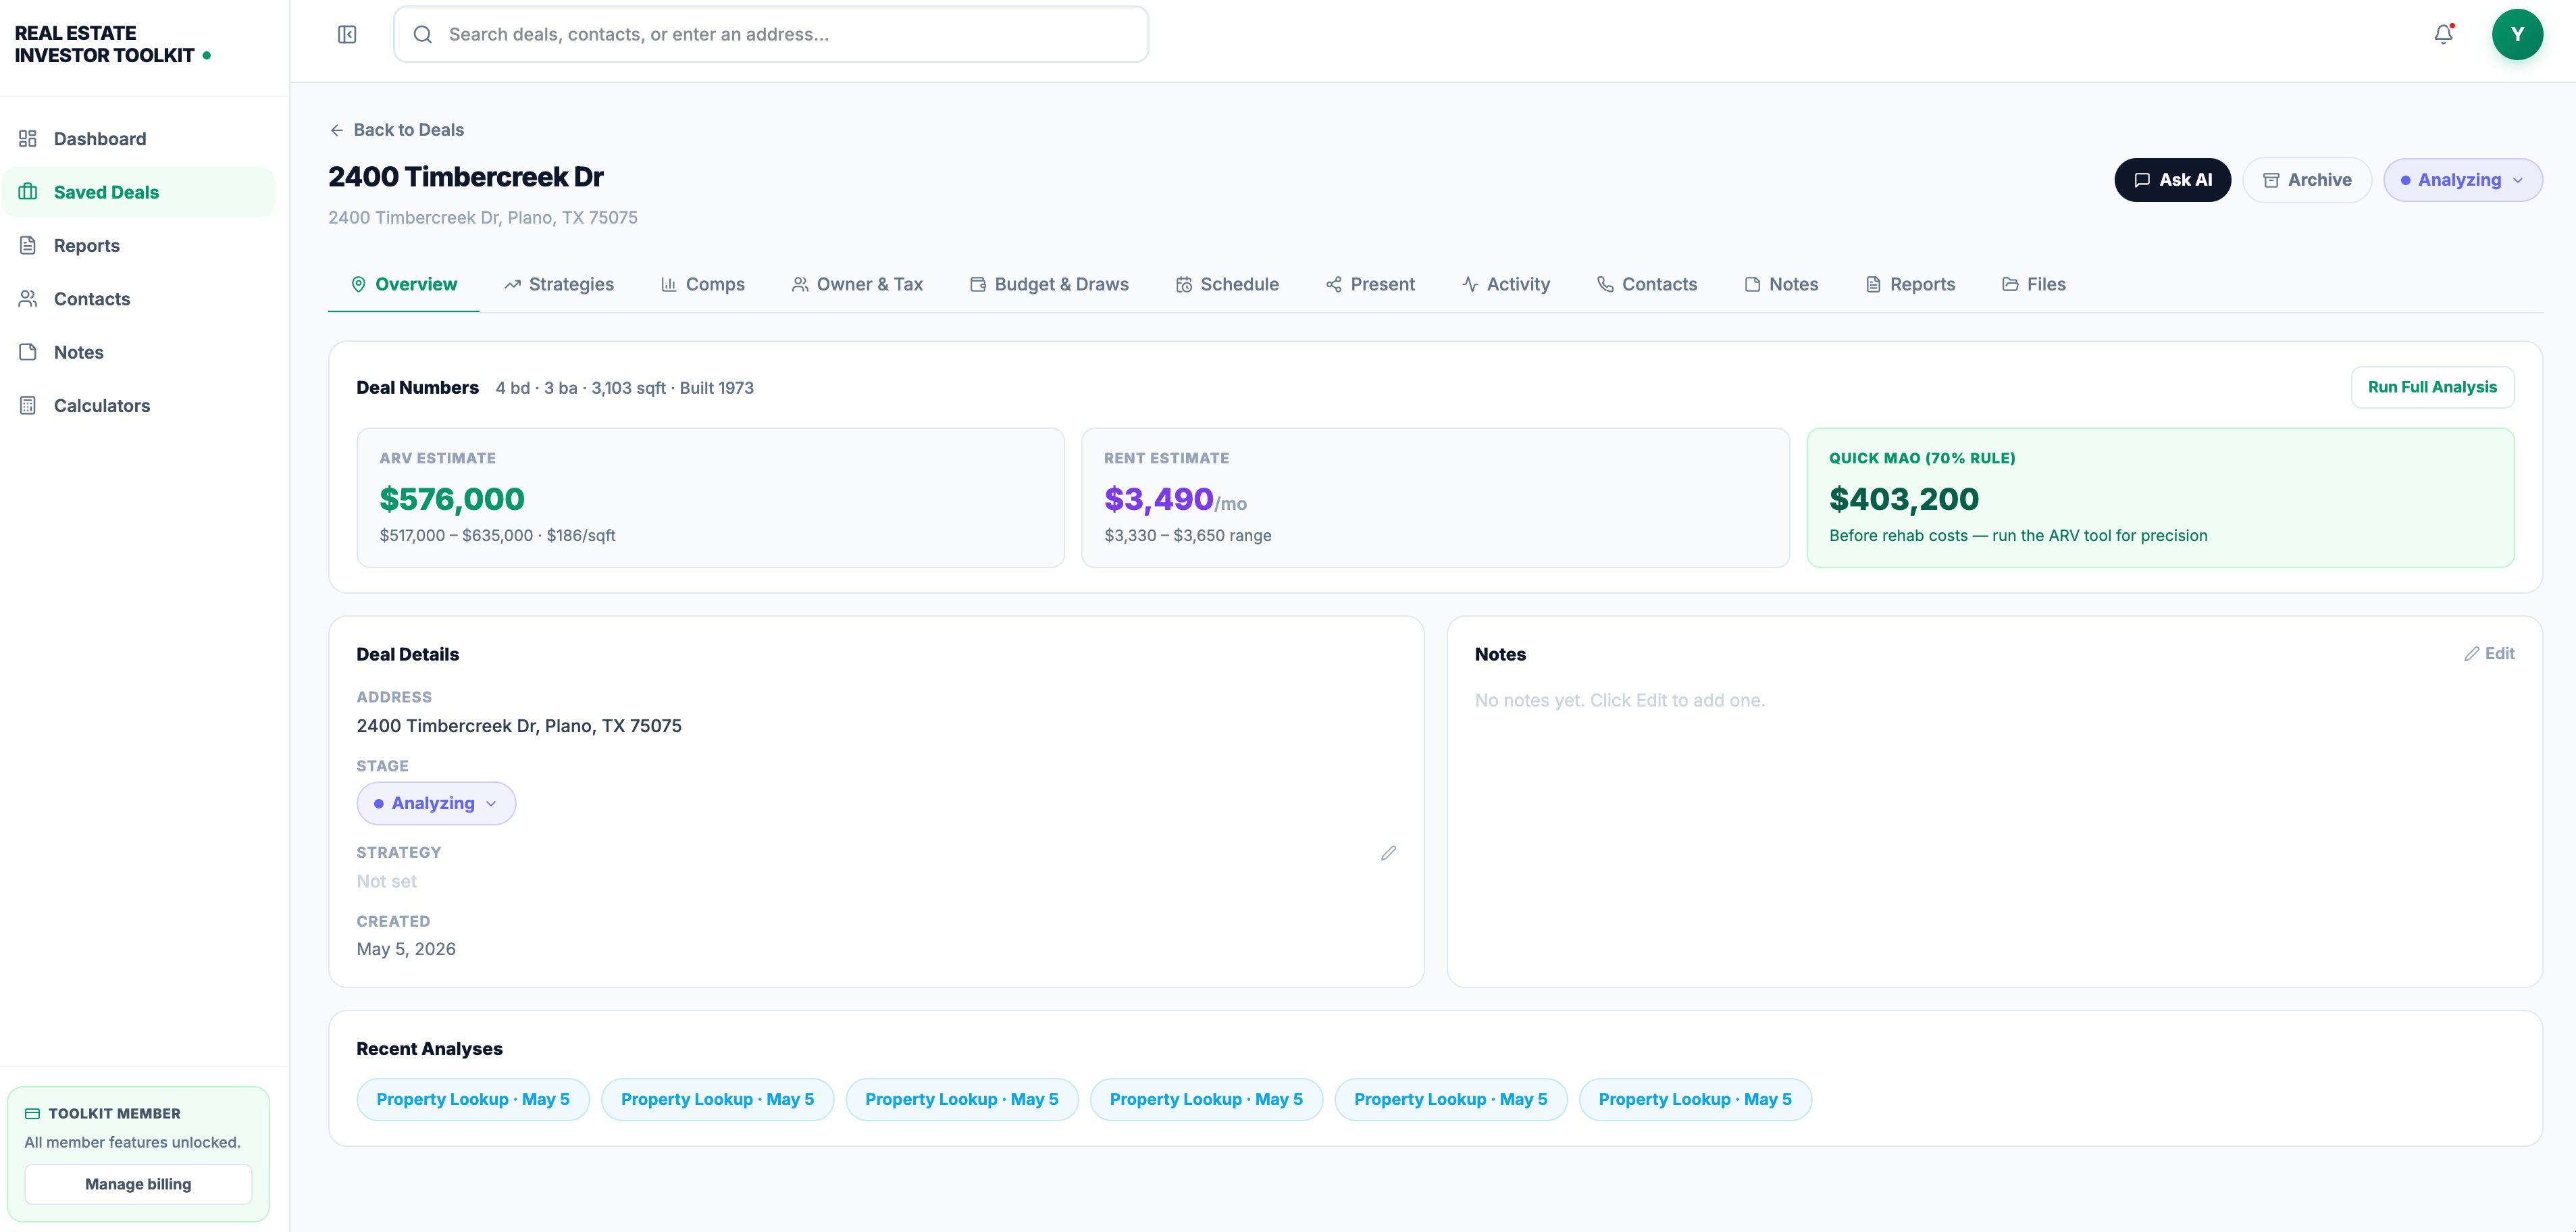
No sign-up is required to run a quick screen. For investors who want to save deal pipelines, export reports, and access verified market data, the paid subscription unlocks the full toolkit. Start with the Rehab Cost Calculator — enter your line items, set your contingency tier, and get a report you can hand to a lender or contractor today.
Sources
Internal tools (Real Estate Investor Toolkit):
External partner resources:
Research and methodology sources:
This article is general information, not a substitute for advice from a qualified financial advisor. Consult a qualified financial professional about your own circumstances before acting on anything here.