Hard Money Draw Schedule: How Rehab Funds Get Released

A hard money draw schedule is the written plan that splits your rehab budget into stages. The lender releases each stage after verifying that the work is done. You close on the purchase up front, but the rehab money stays with the lender. You get it back in pieces, and you usually pay for the work before you are reimbursed. That timing is what catches new flippers off guard, so this guide covers the structure, the inspections, the fees and the cash you need to float each phase.
TL;DR
- A draw schedule ties rehab money to verifiable milestones such as demo, rough-ins, drywall and finishes. Most lenders allow roughly three to six draws on a flip.
- Draws are reimbursements, not advances. Plan working capital for at least your largest phase, plus a cushion for delays.
- Expect an inspection and a wire or processing fee on each draw. Confirm the exact amounts in your loan documents.
- Most lenders hold back about 10% of the rehab budget until final completion and a clean final inspection.
- Clear scope, dated photos and invoices that match budget lines prevent most delays.
Table of Contents
- What a draw schedule actually is
- Sample draw schedules you can borrow from
- What a lender draw inspection checks
- Draw timing and fees: what lenders actually publish
- The cash gap between draws
- Our perspective
- How to prevent draw delays and contractor disputes
- Plan your draws with the Toolkit
- FAQ
- Sources
What a draw schedule actually is
At closing, a hard money lender funds the purchase. The rehab portion goes into a controlled account and is released in segments as construction reaches set milestones, after the lender verifies the completed work. Think of it as a pay-as-you-build agreement between you, your contractor and the lender.
The lender does this to protect its collateral. Paying everything at once would leave it exposed if a contractor disappeared or the project stalled halfway. Staged funding also protects you. It forces a scope, a sequence and a paper trail.
Three points matter before you sign:
- The scope of work is locked at closing. Some lenders state that no money is paid for change orders or work not on the signed scope, so a surprise addition may come out of your pocket.
- Funds cover completed work. Materials sitting on site often do not count. One lender guide says cabinets you have purchased must be installed before the draw request can be approved.
- A holdback is common. Most lenders cap pre-final draws at about 90% of the rehab budget, holding the last 10% until the project is complete.
If you want a plain-language walkthrough on our own site, see our rehab draw schedule guide.
Sample draw schedules you can borrow from
Every lender sets its own structure, but the pattern is consistent: heavy structural work first, finishes last, a small final draw at the end.
A $75,000 flip in five draws
One published example for a $75,000 renovation looks like this:
| Draw | Milestone | Amount | Share of budget |
|---|---|---|---|
| 1 | Demo, framing, structural | $15,000 | 20% |
| 2 | Roof, siding, windows, rough-ins | $25,000 | 33% |
| 3 | Drywall | $15,000 | 20% |
| 4 | Interior finishes | $18,000 | 24% |
| Final | Punch list, landscaping | $2,000 | 3% |
Notice that draw 2 is the biggest. That is the phase where you will be carrying the most unreimbursed cost if anything slips.
A percentage-based six-draw structure
Another lender-side guide recommends six draws plus retainage. Applied to the same $75,000 budget, the math works out like this:
| Draw | Milestone | Percent | On $75,000 |
|---|---|---|---|
| 1 | Demo complete, site protected | 10% | $7,500 |
| 2 | Framing and structural complete | 15% | $11,250 |
| 3 | Rough plumbing, electrical, HVAC passed | 20% | $15,000 |
| 4 | Insulation and drywall hung and taped | 15% | $11,250 |
| 5 | Cabinets, tile, trim, paint complete | 20% | $15,000 |
| 6 | Flooring, fixtures, exterior, finals passed | 10% | $7,500 |
| Retainage | Released after punch list and lien waivers | 10% | $7,500 |
A simpler four-draw version
Smaller cosmetic rehabs often use four draws: 20% to 25% for demo, structural and roof, then mechanical rough-ins, then drywall with kitchen and baths, then flooring, paint and the final punch list. Fewer draws mean fewer inspection fees, but each stage is bigger, so your float is bigger too.

How many draws is normal?
Lender guides vary. One says most loans permit three to six draw requests, with extra fees for additional draws on complex jobs. Another puts typical flips at four to eight draws depending on rehab size. The right number depends on your scope and your contractor’s payment terms. Too few draws leave you funding huge phases. Too many tiny milestones create inspection and paperwork friction.
What a lender draw inspection checks
The inspector’s job is narrow: confirm that the work on your request is physically done and matches the approved scope. That is why vague milestones cause delays. Use milestones an inspector can see in one visit:
- Demo complete
- Rough mechanicals complete (plumbing, electrical, HVAC)
- Drywall and paint complete
- Kitchens and baths installed
- Flooring and trim complete
- Final punch list complete
These are the milestones one lender recommends building the schedule around. At the rough-in stage, work is verified once installed, and permit sign-offs may be on the lender’s checklist.
What to put in every draw request
A complete package typically includes:
- The lender’s draw request form
- A list of completed work tied to each milestone
- Before and after photos, clearly dated
- Invoices and receipts for major items
- An updated budget versus actuals
That list comes from one lender’s guide. Larger or ground-up projects sometimes use AIA G702 and G703 forms, which summarize the contract sum, completed work, retainage and the amount due, then break everything down by line item. Whatever format you use, make every receipt traceable to a budget line.
Contractor fees are treated differently on some programs. One lender states that general contractor fees are not paid until the project is 100% complete, and that draws cover labor and materials combined, not materials alone. Read your lender’s rules on this before you negotiate your contractor’s payment terms.
Draw timing and fees: what lenders actually publish
Published timelines vary, so treat any blog average as a planning range and your loan documents as the truth. Here is what three lenders state on their own pages:
| Lender type | Inspection timing | Funding timing | Fees stated |
|---|---|---|---|
| Texas private lender | 1 to 2 business days after a complete request | 2 business days after the inspector’s report, by wire | $125 inspection plus $25 wire fee, deducted from the draw |
| Texas hard money lender | Inspector on-site verification included | Not stated as a fixed window | $175 per draw covering processing and inspection; electronic transfer fees waived |
| National bank, construction loans | Usually within 48 hours of notice | Within 24 hours of the report and documents | Extra inspection fees past the prepaid number (typically three for renovation) |
The bank row is a construction-loan product, not hard money, but it shows the same mechanics. Industry guides put the full cycle for a well-documented draw at two to five business days, with rural properties or odd milestones stretching to a week. Budget for the slow end. Contractors do not wait cheerfully.
When you compare lenders, confirm these items in writing:
- The inspection fee and the wire or check fee, and whether they come out of each draw
- The maximum number of draws and the fee for extra ones
- The minimum draw amount. One lender sets a $5,000 minimum per draw request
- The holdback percentage and exactly what releases it
- Whether materials-first draws are available for big purchases
Fees add up. Five draws at $175 each is $875 in the Texas example above, so build them into your closing and holding cost math. Our guide to estimating holding costs shows where those line items belong.
The cash gap between draws
Here is the part that trips up first-time flippers. Draws are reimbursements, not advances. You pay your crew, submit proof, and then the lender repays you. Your contractor wants to be paid when the work is done. The lender releases funds days later. The difference is your money, floating the project.
How to size your float
A practical method from one lender guide: add the largest single phase, the next-largest phase as a stall cushion, deposits for long-lead items, and contingency. That total sits on top of your down payment, closing costs and lender reserves.
Apply it to the $75,000 schedule above:
- Largest phase: $25,000
- Next largest: $18,000
- Subtotal: $43,000
- Contingency at 10% to 15% of the budget, which is what lenders commonly recommend: $7,500 to $11,250
- Working capital to plan around: roughly $50,500 to $54,250, before deposits on long-lead items
That is a conservative stall scenario, not a prediction. On a clean schedule your exposure is closer to one stage at a time. Another guide suggests keeping working capital equal to the largest expected draw, commonly 20% to 30% of the rehab budget. The minimum for the first draw in the $15,000 example is at least $20,000 in available cash to cover materials, labor and carrying costs while you wait.
Interest is part of the gap too. In one worked construction example, the first four months cost $3,325 in interest while months 10 to 12 cost $11,838.75, because the balance grows as draws fund. Some lenders fold interest into the loan, and others require a reserve, so ask which applies to you.
Ways to cover the gap
Savings, a HELOC or a credit line are the usual sources. If you run a contracting side of the business, construction business financing options can also help you line up working capital so payroll and suppliers are covered while you wait on reimbursements.
You can shrink the gap with structure:
- Negotiate contractor payments that mirror the lender’s draw schedule.
- Sequence work so one inspection verifies several line items.
- Ask about materials-first draws for cabinets and windows.
- Request each draw as soon as the milestone is done, not when cash runs out.
The scale of your rehab also changes the math. A light cosmetic job needs far less float than a gut renovation. Our light vs. medium vs. heavy rehab guide shows how scope drives the budget, and our rehab cost estimating guide helps you build the line items a lender will want to see.
Our perspective
We built the Toolkit around one idea: most flip mistakes are math mistakes made before closing. A draw schedule is where that shows up fastest. An investor underestimates the rehab, picks a schedule that does not match how the crew gets paid, and discovers the cash gap with a half-finished kitchen.
Our advice is to build the schedule backward from your numbers. Estimate the rehab by phase first, and put each phase on a line item. Then check the largest phase against the cash you actually have. If the first two phases together exceed what you can float, change the deal or the draw structure before you sign, not after.
That is why we keep the core calculators free with no sign-up, and why our paid plan adds unlimited reports and saved deal pipelines for investors running several projects at once. Phase-level budgets you can reuse on every deal make lender conversations shorter and cleaner.
Michael
How to prevent draw delays and contractor disputes
Lenders agree on the causes. One guide lists four common ones: timeline mismatches between contractor expectations and inspection cycles, partial milestones, reinspection loops from unclear photos or limited access, and missing or mismatched paperwork. Another adds work that does not match the original scope and failed inspections.
A short checklist that addresses all of them:
- Start planning before closing. Process matters most before the first invoice arrives.
- Lock the scope. Stick to the signed scope of work. If a change is needed, tell the lender early.
- Photograph everything. Take clear, dated photos at every stage, from the same angles.
- Keep access easy. Unlock the property and clear the path to the work being inspected.
- Match invoices to budget lines. Mismatches stall a request.
- Submit right away. Request the draw when the milestone is complete.
- Hold contingency. Plan for at least 10% to 15% of the renovation budget.
Put it in the contractor agreement
One lender-side guide suggests specific contractor terms: a start and completion date with a grace period, per-day damages for late work, 10% retainage until final inspection and lien waivers, and no payment for stored materials without photos and receipts. It also recommends written change orders with photos, cost impact and added days, approved before work begins. Have a local attorney review any contract language, since lien and payment rules vary by state.
A caution from the lender side is worth keeping: do not build a schedule so tight that competent contractors must finance the renovation themselves. Good crews price that risk into their bids or walk away.
Protecting your margin matters. Margins on flips have been thin: one lender cites ATTOM data showing gross flipping margins fell to 25.5% in 2025, which leaves little room for a stalled project and extra interest.
Plan your draws with the Toolkit
Before you talk to a lender, you need a phase-by-phase budget and a realistic financing picture. Our free Rehab Cost Calculator breaks the renovation into line items, and the Investment Property Financing Calculator models loan scenarios and carrying costs. Both are among our free tools, with no sign-up required.
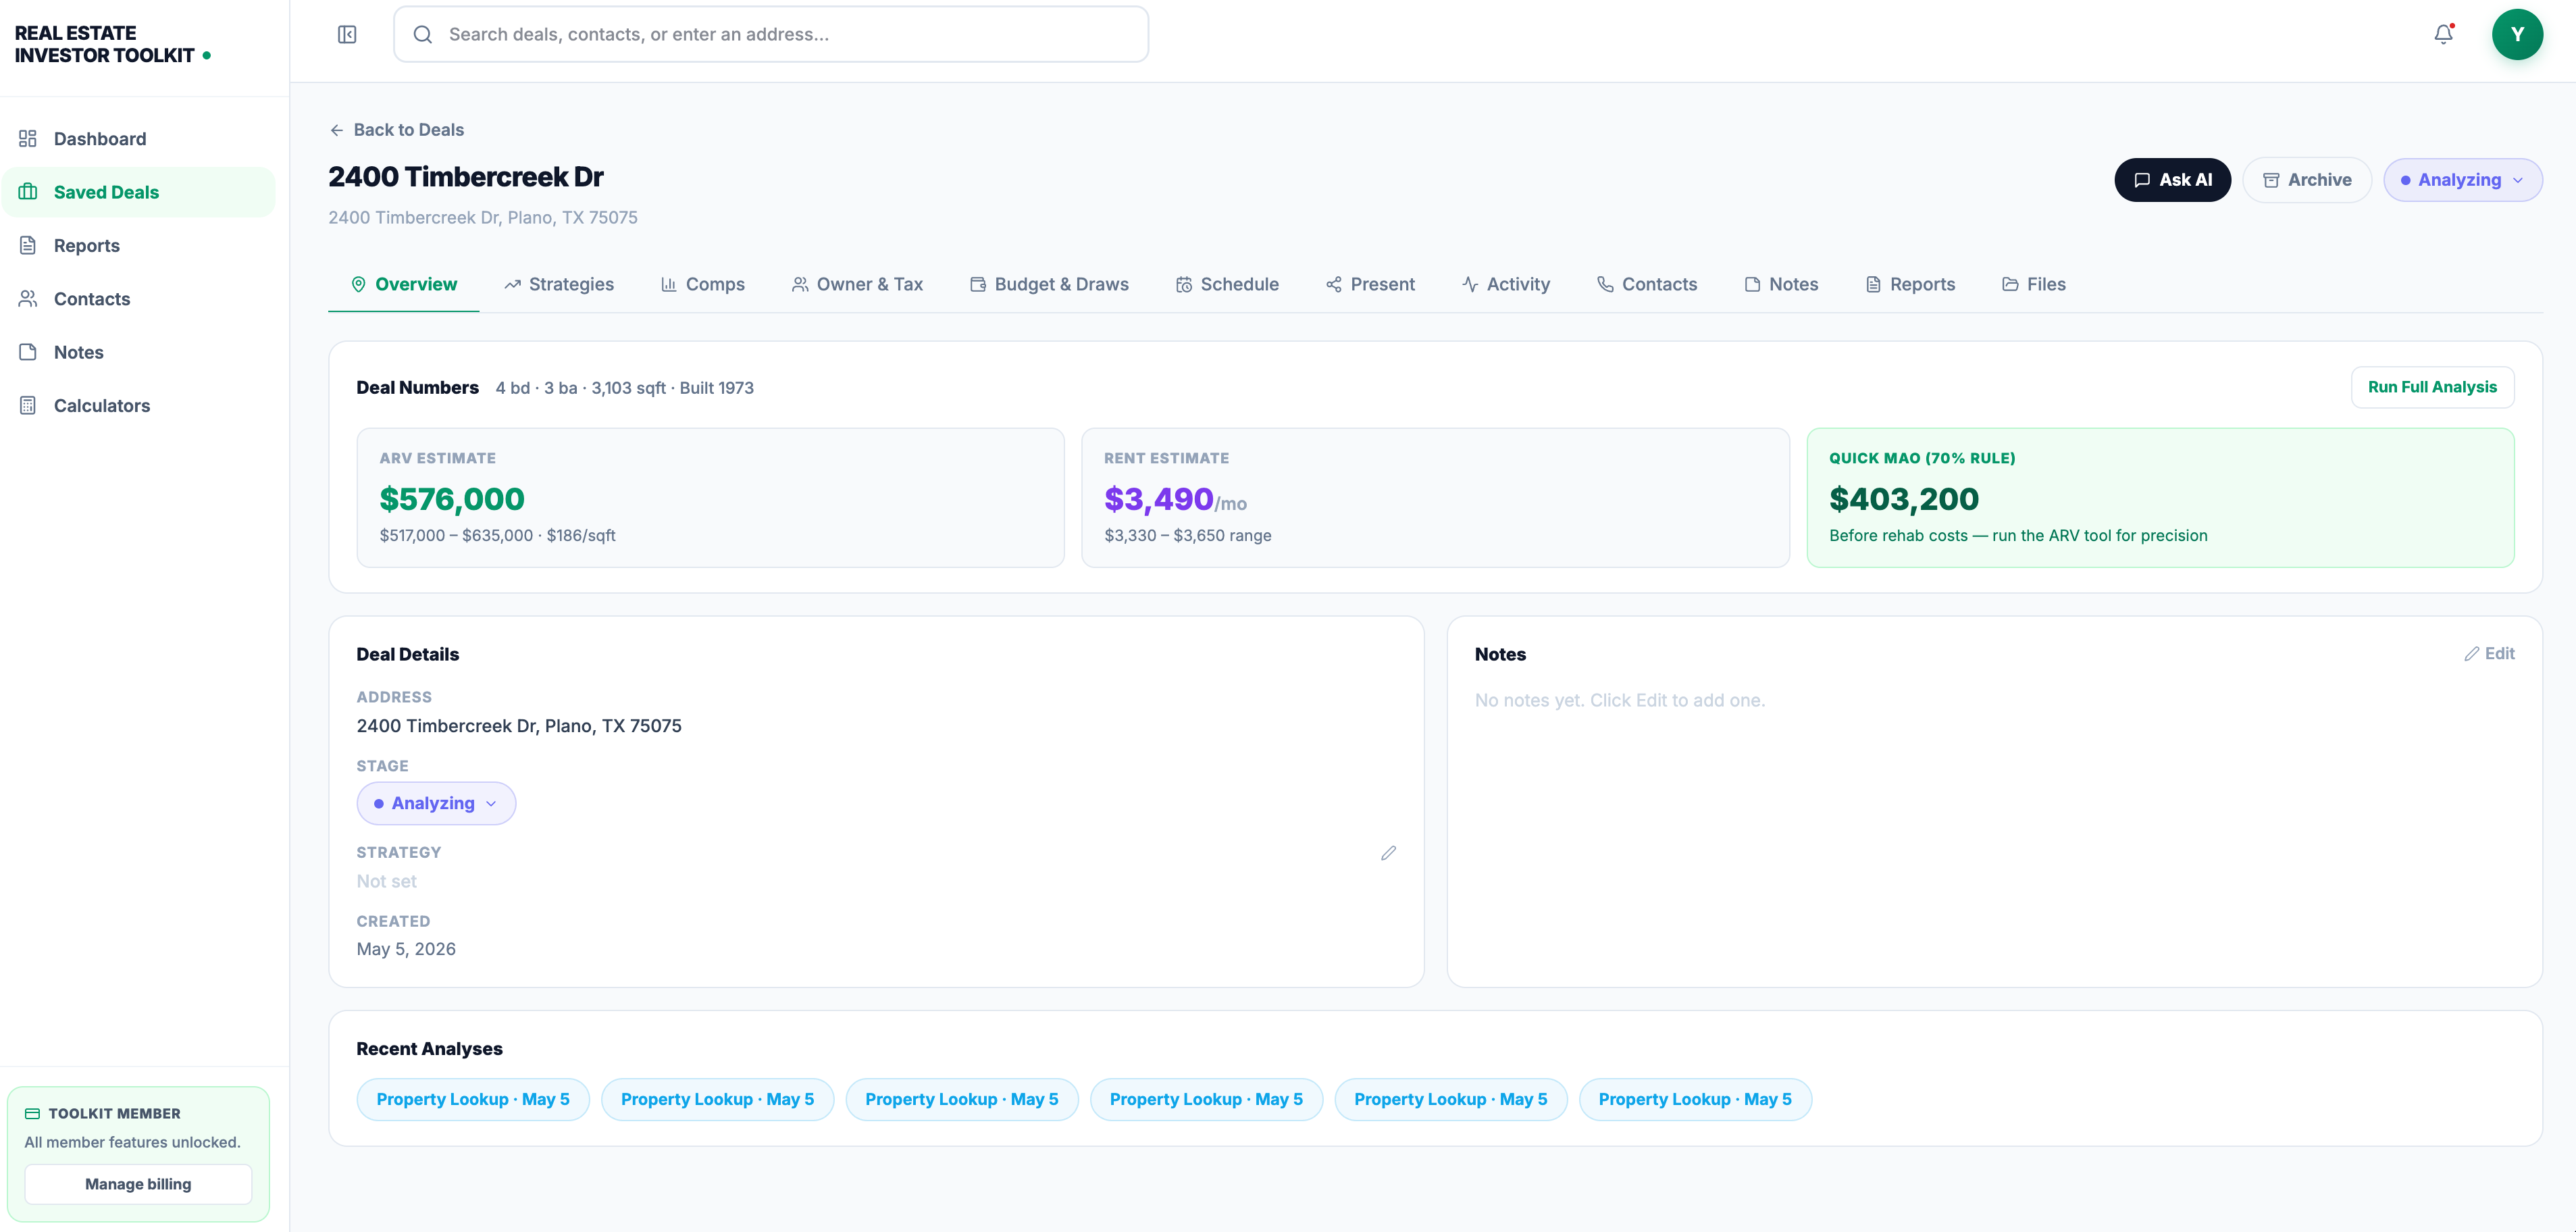
If you analyze deals every week, the Real Estate Investor Toolkit plan is $39.99 per month and adds unlimited reports, saved deal pipelines, advanced property data and AI chat insights in one place. For the bigger financing picture, read our guide to hard money vs. conventional flip financing.
FAQ
How many draws does a hard money loan usually have?
Most residential flips use about three to six draws, and larger ground-up projects use more. Lender guides give slightly different ranges, so ask yours for the maximum number allowed. Extra draws can carry additional fees.
How long does it take to get a hard money draw?
Published lender timelines run from about one to five business days from a complete request. A typical breakdown is a day to schedule the inspection, one to two days for the inspection, and one to two days to release funds. Missing documents or hard-to-reach properties can stretch that to a week, so confirm your lender’s process in writing.
Can I use draw money to buy materials up front?
Often not. Many lenders reimburse only completed or installed work, and materials on site may not count. Some offer materials-first draws for big-ticket items like cabinets or windows, so ask whether yours does before you order.
What is retainage or a holdback on a rehab loan?
It is a portion of the rehab budget, commonly around 10%, that the lender keeps until the project is complete. It is usually released after the final inspection, a finished punch list and lien waivers. Plan for the fact that this last portion arrives after your contractor expects to be finished.
Who pays for the draw inspection?
You do. Lenders typically charge a fee per draw, sometimes with a separate wire fee, and often deduct it from the draw amount. Published examples run from $125 to $175 per draw, and amounts differ by lender, so check your loan documents.
Sources
- Draw Schedules Explained: How Rehab Funds Are Released
- Catalyst Draw Procedures
- How the Fix-and-Flip Draw Process Works
- Fix and Flip Draw Schedule: How Renovation Funds Actually Work
- Rehab Contractor Management: Keep Flips On Schedule
- Fix & Flip Draw Schedule Guide
- Submitting Draw Requests for Fix & Flip or New Construction Loans
- Fix-and-Flip Draw Schedules Explained
- Rehab Draw Schedule Explained for Texas Investors
- Hard Money Draw Schedule Explained for Real Estate Investors
- How Hard Money Draws Work Across Rehabs at Different Stages
- The Complete Guide to Hard Money Draw Requests
- Draw Request, DHLC Investments
- Construction and Lot Loans, PNC
- How to Cover Draw Gaps on a Full-Gut Rehab
- How Rehab Draw Schedules Work on Hard Money Loans
- Construction Draw Schedule: Milestones, Retainage, Interest
- Stop Funding Delays: Faster Rehab Inspections
- How Draw Schedules Work on Fix-and-Flip Loans
- Construction Business Financing: The Fastest Paths to Cash